Email Templates
Fyno's email templates allow you to create some exciting templates, be it for marketing or transactional communication.
You can also add placeholders in the subject line, if you want to personalise it.
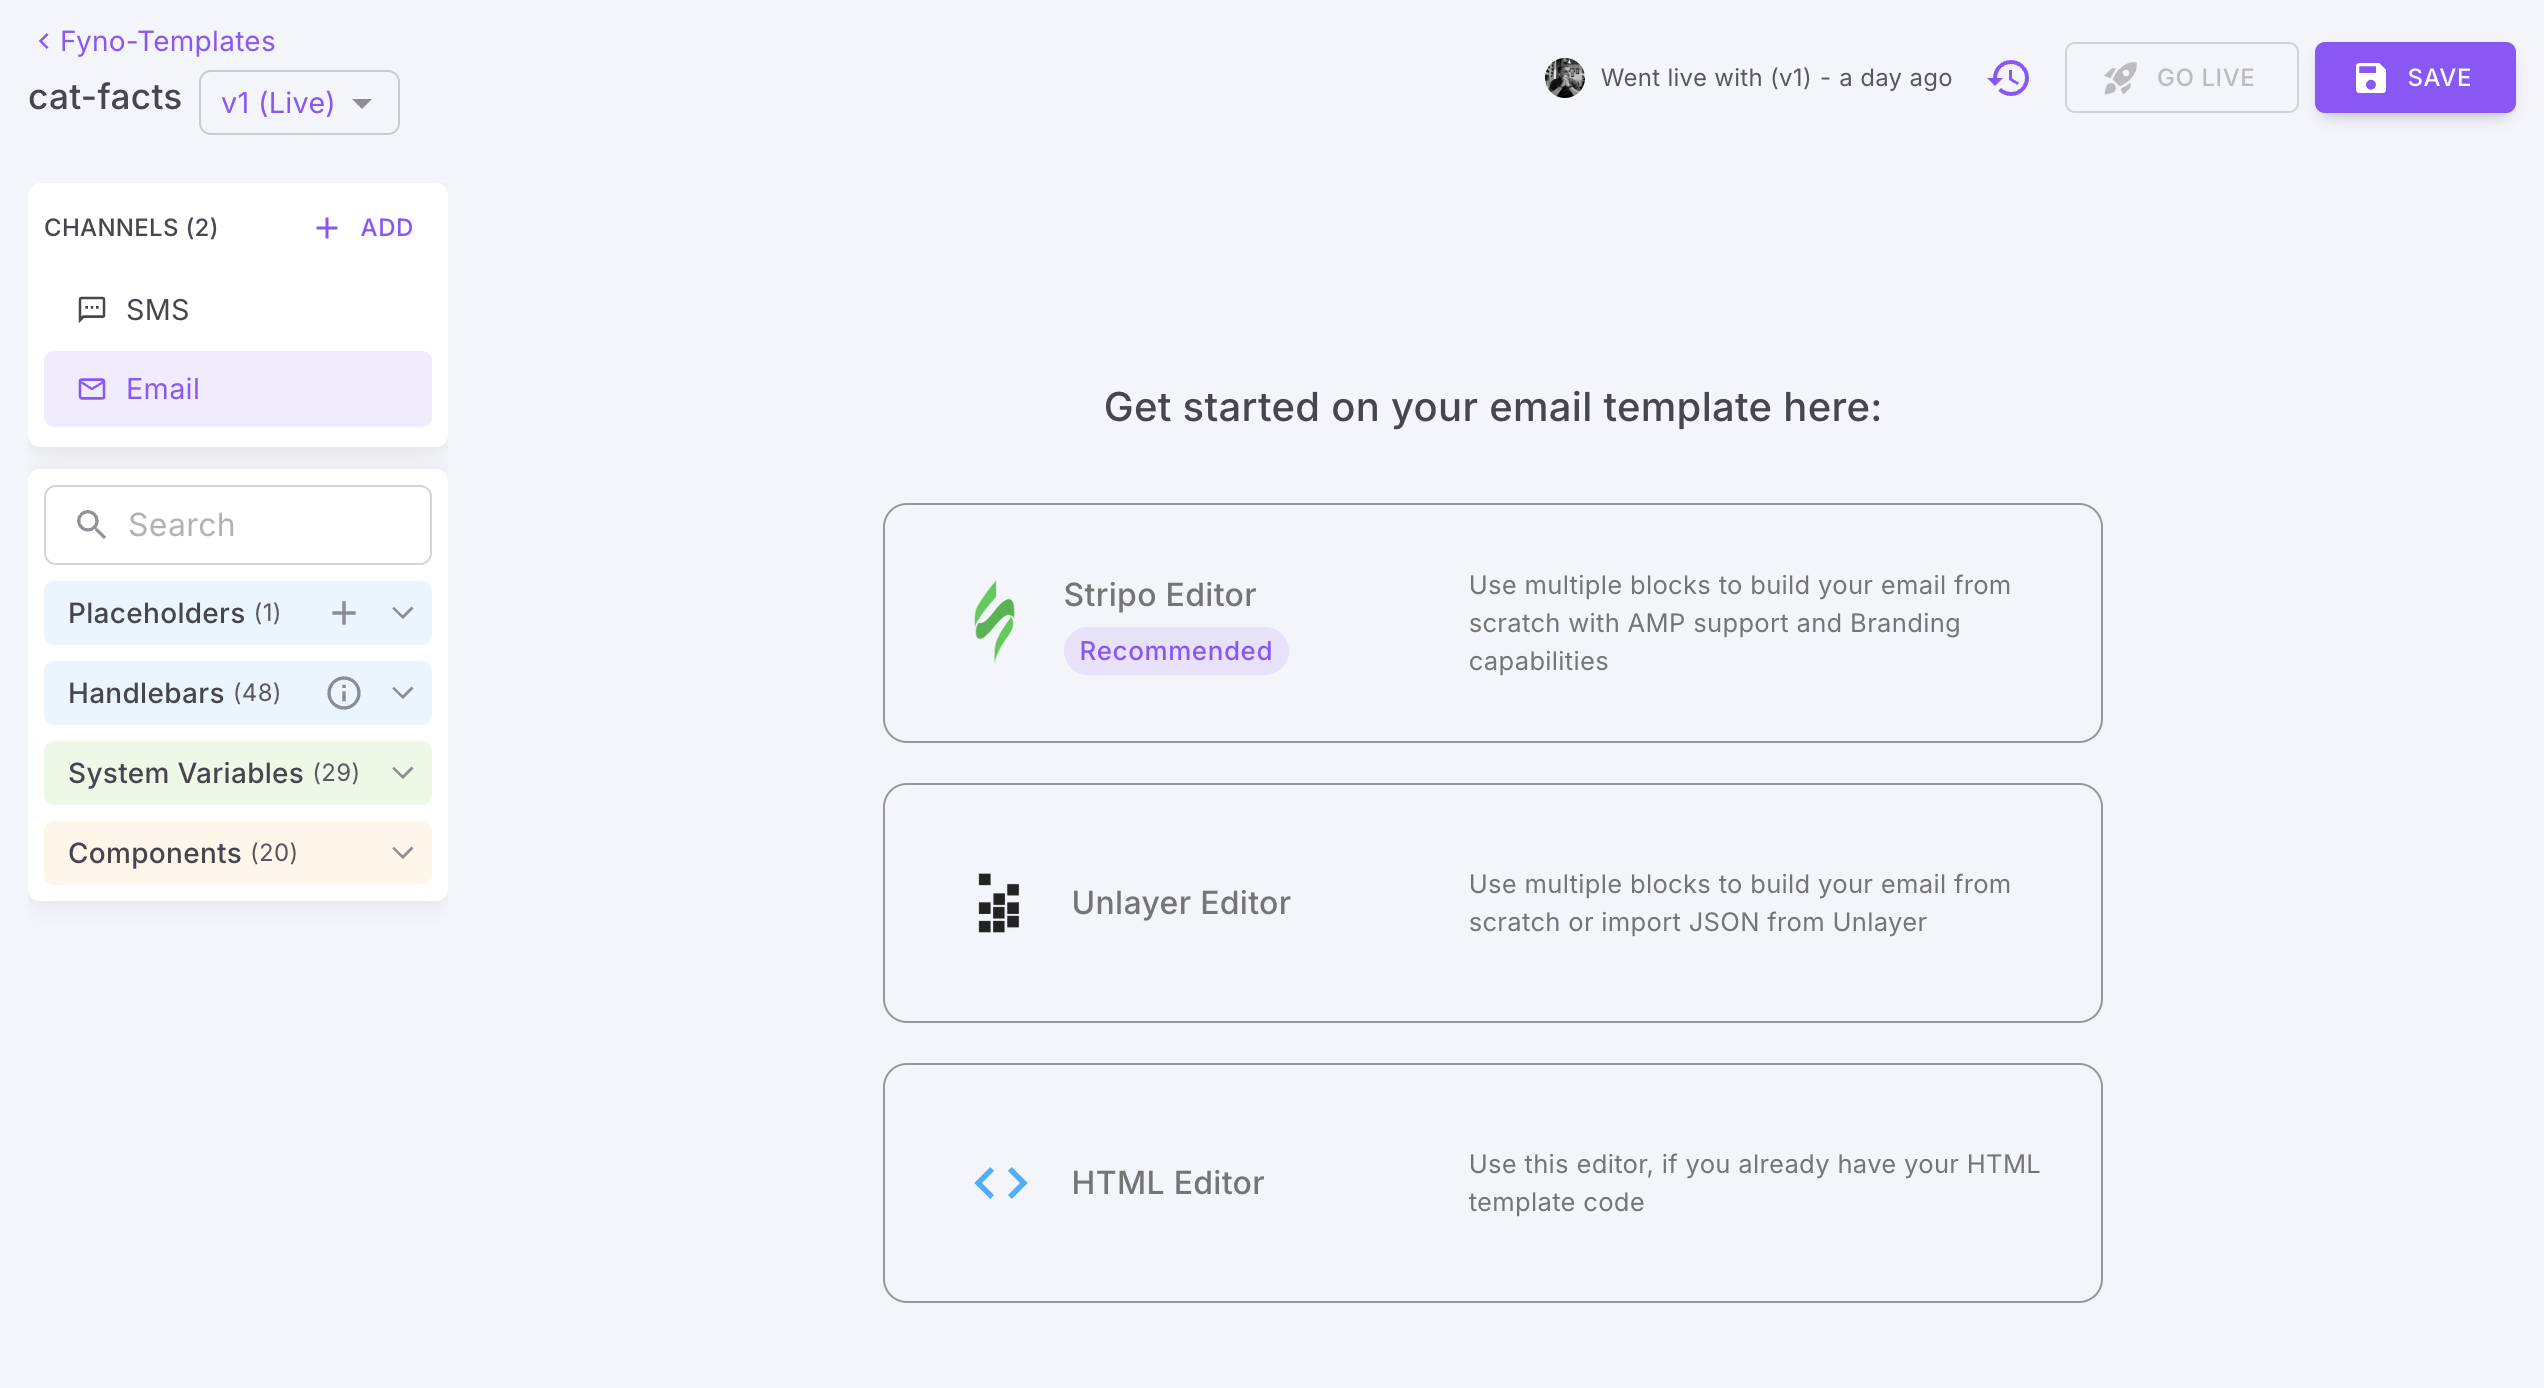
On Clicking Email, you can select one of the two editors that Fyno has:
- Stripo
- Unlayer
- HTML Editor
Use HTML Editor, when you already have your HTML code. You can just paste your code in HTML editor.
Fyno recommends using the Stripo editor due to the ease of use as it supports AMP options giving you a wonderful and responsive email experience for your customers.
- You can create your own email template from scratch using either the email editor tool
- Add anything from Content or Blocks and edit the entire email format through the Body tabs on the left Navigation panel
Blocks can be saved!
On creating a block that you will use repeatedly in other templates, you can save it by clicking on the save button next to the block. Give it a name and a tag and you are good to go!.
This will then be available under the "Blocks" section for you to use.
- Preview your created template by clicking on the "eye" icon in the bottom right corner. You can also see how your template looks on different devices.
- Save your design by clicking on the Save button.
- Clicking on Close Editor will allow you to discard the draft.
- Save and create different versions of the templates by hitting Save which will be Test versions. Use Save & Promote when you are ready to move your template into the "Live" version.
To use any user property in your templates, you can add it in this format - {{$user.$<user_property>}}. For example, to add Name as placeholder from User profile, you can add it as {{$user.$name}}
How to add reusable components in your email
This feature helps you to create components which you would like to reuse in other emails like Header, Footer etc.
This helps you to avoid rework by creating same components in every email you create.
You can read about it here
How to override Email Sender details
You can override sender details configured in the Service Provider integration in 2 ways - Using Notification Event API and through Email editor. Please refer this document for details
How to add attachments
You can add static as well as dynamic attachments to emails. Please refer this document for details
How to add multiple 'to' emails
Sample code with multiple 'to' details in Notification Event API. You can add any no of emails to 'to'.
curl -X POST 'https://api.fyno.io/v1/{WorkspaceId}/test/event' \
-H 'Authorization: Bearer <API_KEY>' \
-H 'Content-Type: application/json' \
-d '{
    "event": "ReleaseNote",
    "to": {
       "email": ["[email protected]","[email protected]"]
    },
    "data": {
        "company": "Fyno",
        "key": "value"
    }
}'
How to add cc and bcc recipients
You can add cc and bcc recipients to emails. Please refer this document for details
How to add dynamic content in template
You can add dynamic content in your templates using one of the 4 options mentioned below.
How to test Email template
You can use this feature to conduct thorough testing of a template prior to its inclusion in any Notification Event. This ensures the early detection and resolution of any potential issues, ensuring a seamless user experience.
- Click 'Run Test' on the top right hand side of the template.
- It opens the pop up as shown below.
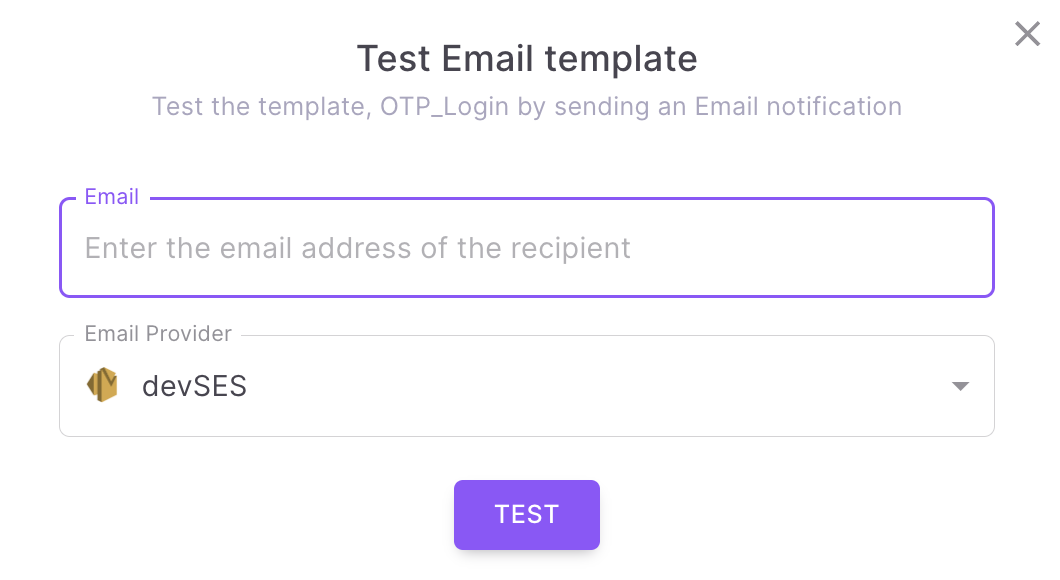
- Enter the email id of the recipient where the Email should be sent.
- Select a Email service provider which is already configured in Fyno.
- When you click 'TEST', it will send Email to the recipient with the selected service provider. You will see the success or failure message along with the link for Sent Logs.
How to add unsubscribe link in Header
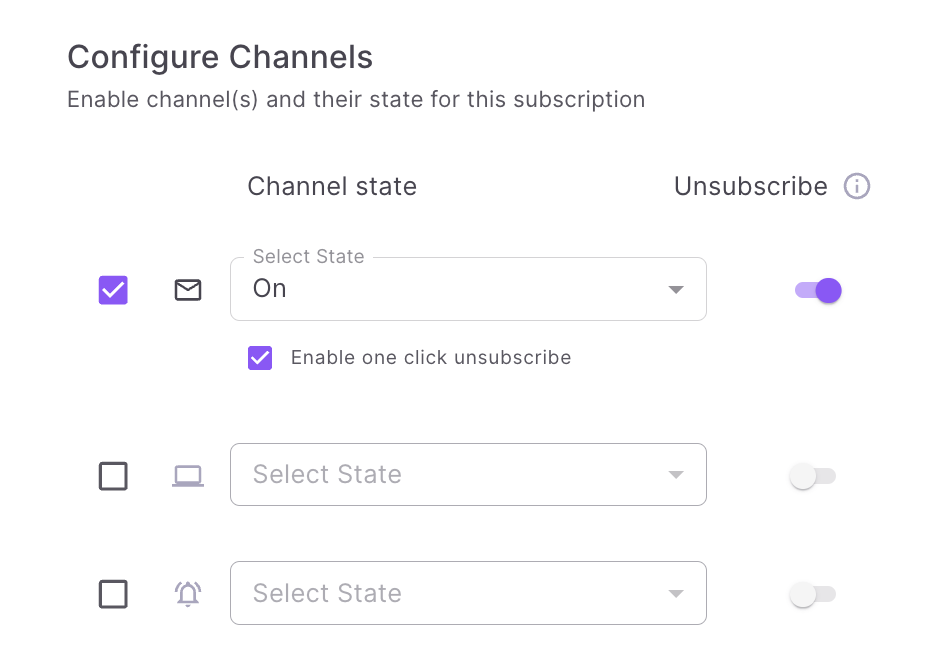
To add Unsubscribe link in Header,
-
Ensure that the email channel's state within the subscription topic is set to either On or Off.
-
Make sure the email channel has the unsubscribe feature activated.
-
Make sure the 'Enable one-click unsubscribe' checkbox is ticked.
-
When an email is triggered with this subscription topic, Unsubscribe link will be automatically added in the Header.
-
When user clicks Unsubscribe link, they will see a popup as shown.
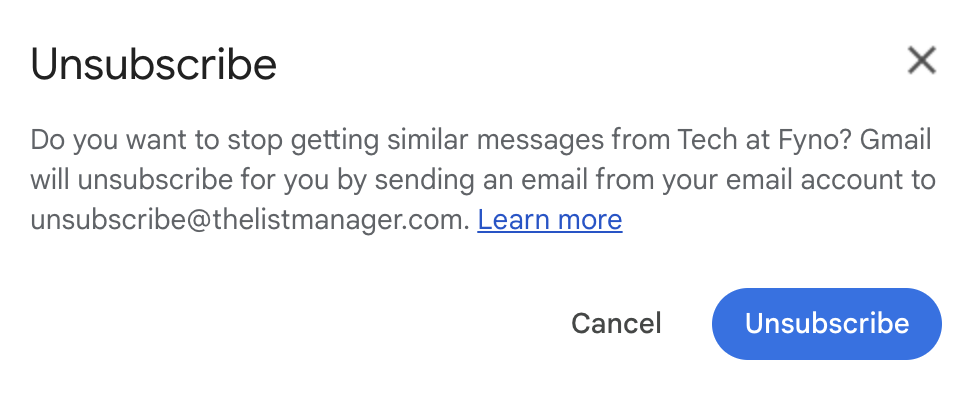
- Once the user clicks Unsubscribe, their email will be added to Opt-out list for Email for that Subscription Topic.
- You can view all the users opted-out of any channel by clicking any Subscription Topic.
Add Right Subscription Topic to your Notification Event!
Unsubscribes are managed at Subscription topic level, so using the wrong Subscription Topic with a notification event can accidentally unsubscribe users from something they didn't intend.
This is enabled only for SES and Postmark service providers now. Please reach out to us if you want to enable it for any other Email service provider.
How to add unsubscribe link in Footer
You can also add a Unsubscribe link in the footer by following these steps.
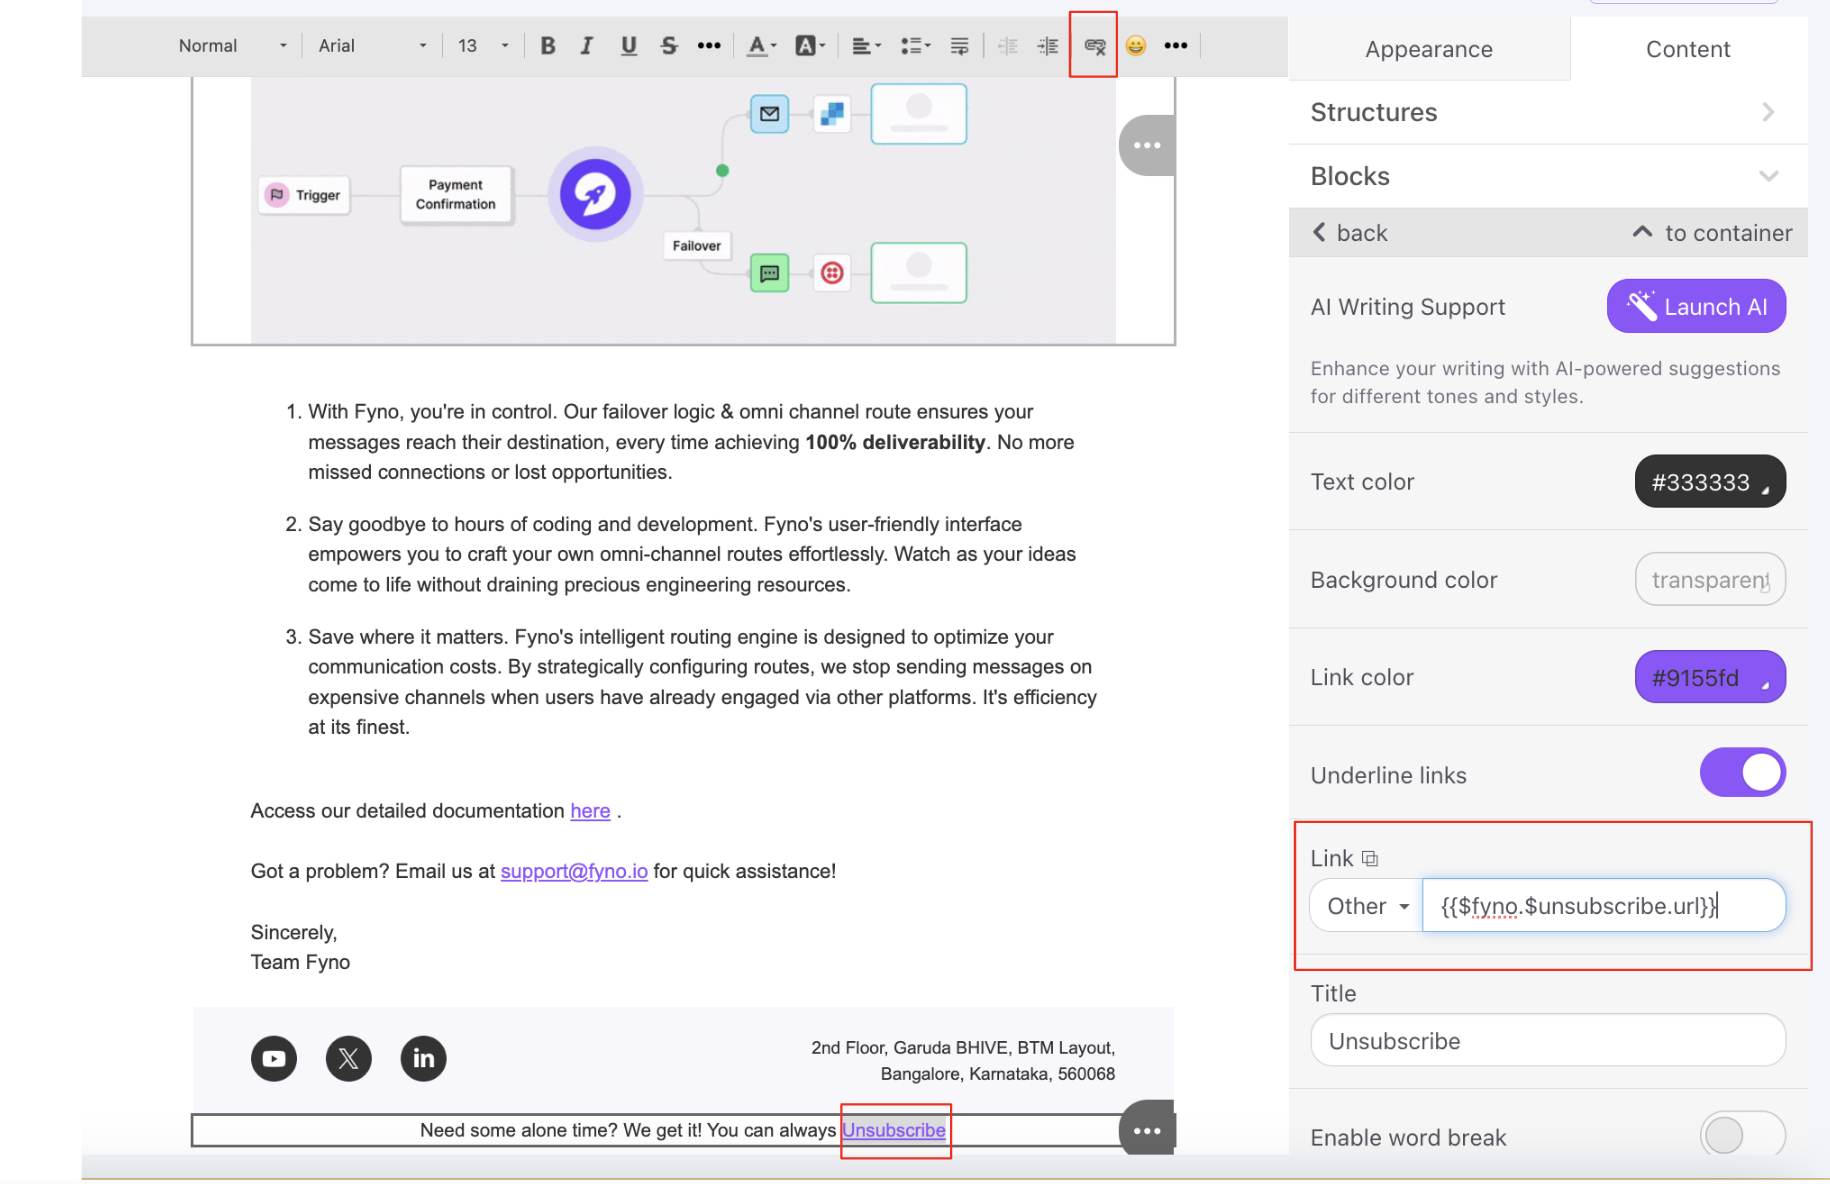
- In the email editor, add a block for Unsubscribe. Highlight the word Unsubscribe
- Click Link icon in the toolbar. It will add hyperlink to the word Unsubscribe.
- On the right hand side, the block section for Link will open. In that choose Other from the dropdown and enter the URL or enter {{$fyno.$unsubscribe.url}} if you want to shorten the URL using Fyno Shorty in the text box next to it.
-
We suggest using the original URL rather than Fyno Shorty since the URL linked to the Unsubscribe option won't be visible to users. Thus, Fyno Shorty doesn't offer significant benefits in this context.
-
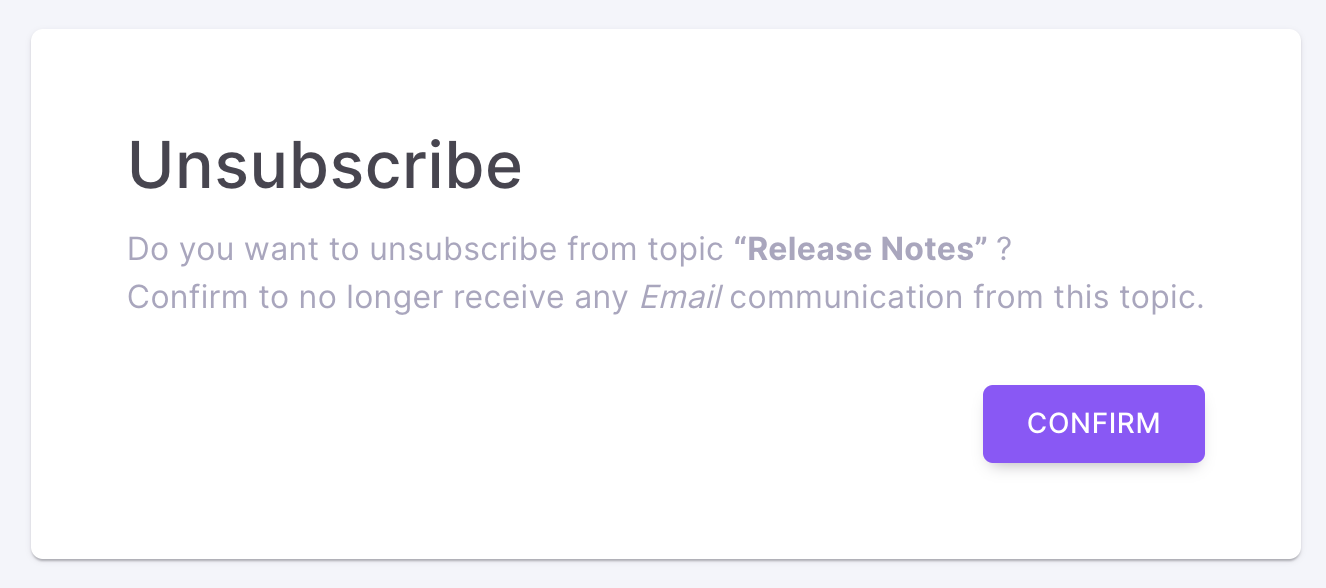
When the user receives this email and clicks Unsubscribe link, the below popup opens to ask the user to confirm if they want to unsubscribe from this subscription topic.
-
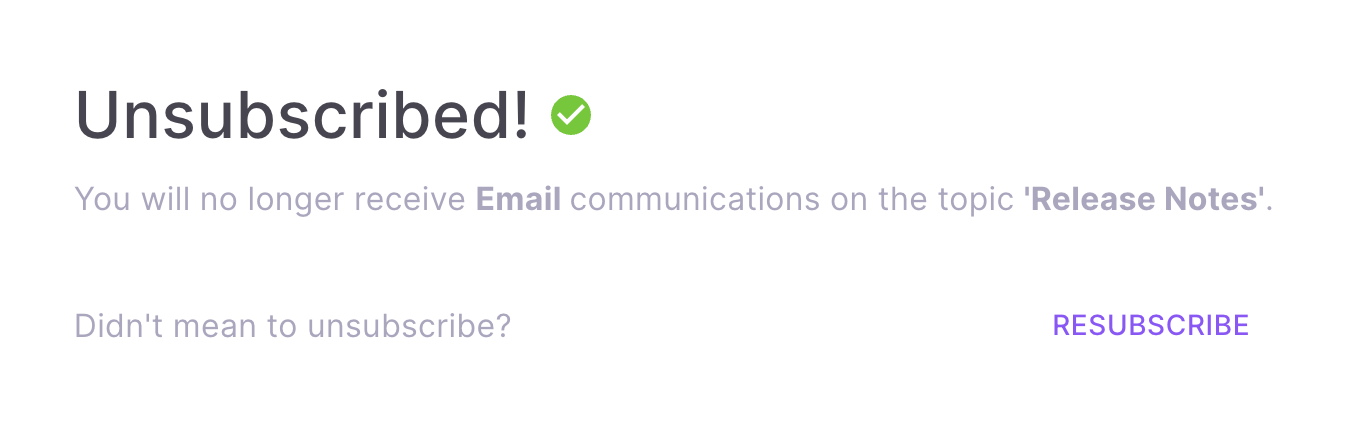
Once the user clicks Confirm, they will see the confirmation message as shown.
-
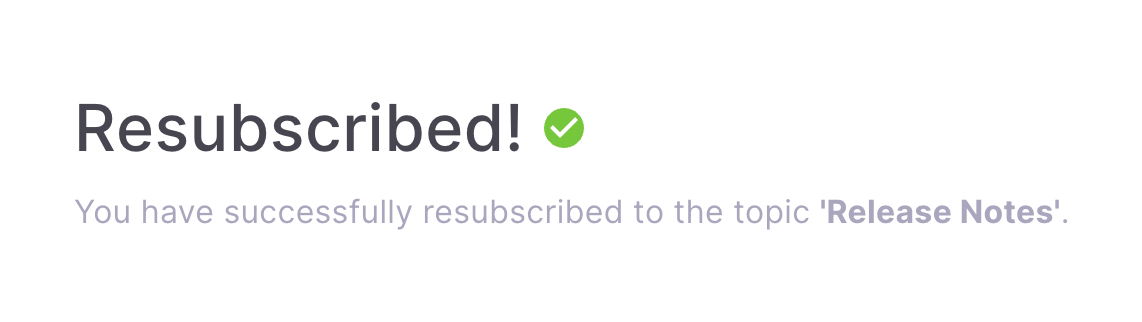
If you mistakenly unsubscribed, you can resubscribe by clicking on 'Resubscribe' CTA. Once you resubscribed you will see success message like shown below.
-
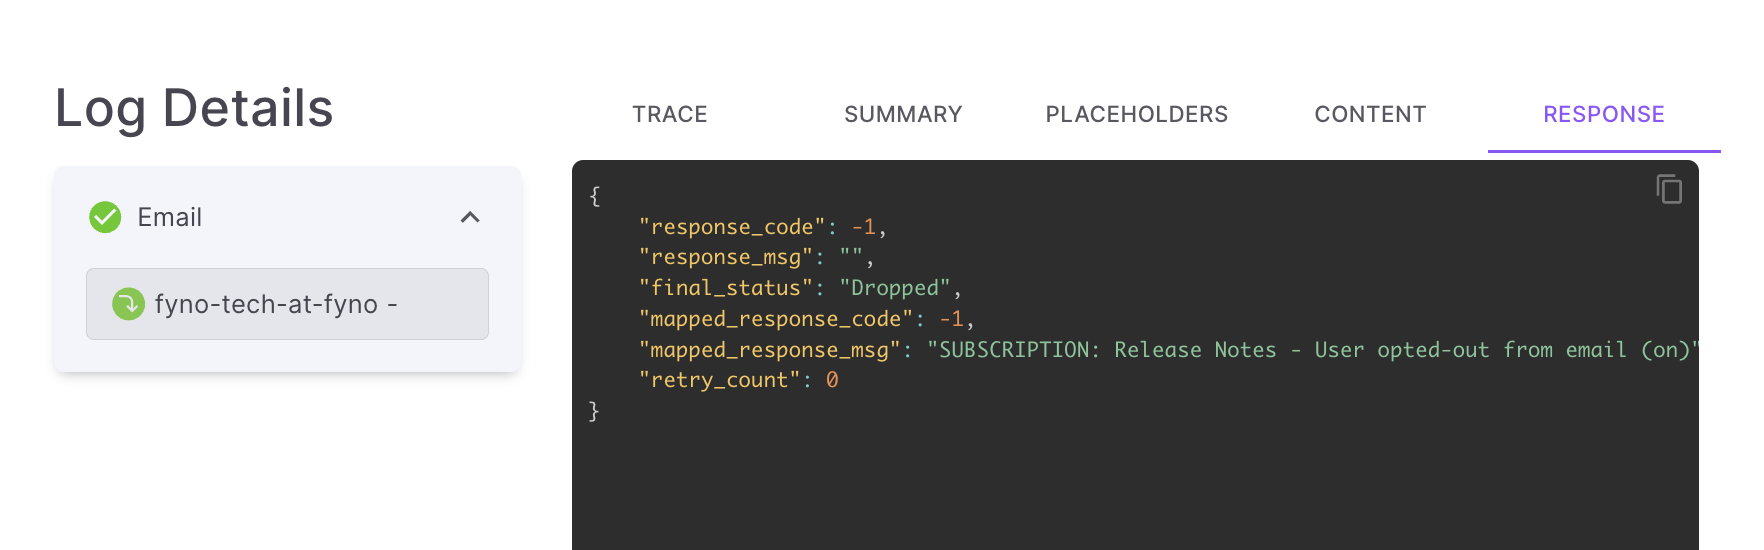
Once you have unsubscribed, we will add this email to the opt-out list in the respective subscription topic. When you try to send any email communication for the same topic, Fyno will exclude the user from the payload submitted to the service provider. So the user won't receive any email for this topic.
-
In the Sent logs, you will see the below response if you send any notification to your unsubscribed users. SUBSCRIPTION " <Subscription_topic> - User opted-out from ()
How to view change logs
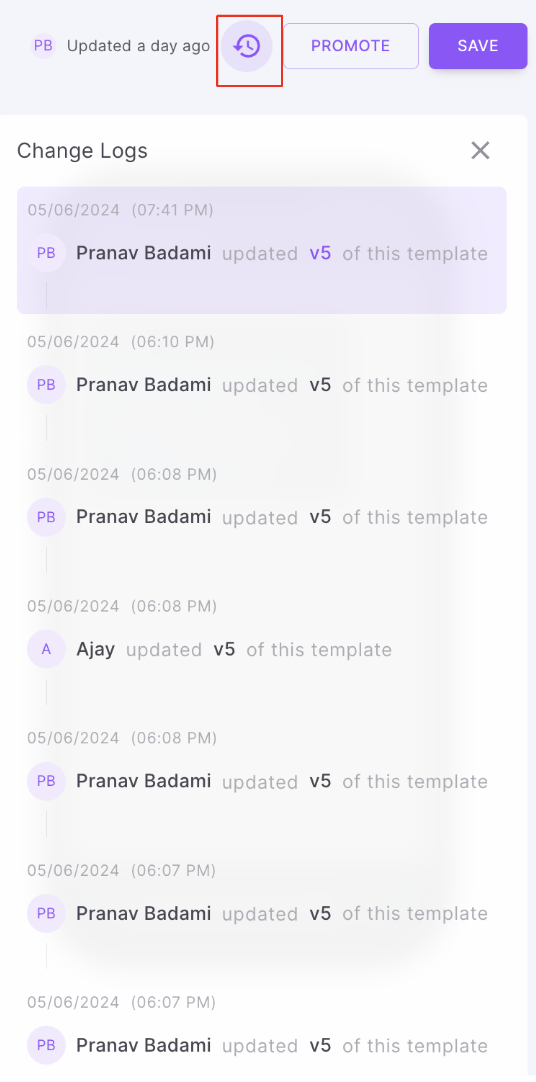
To view the history of all the modifications made to a template, you can utilize the change logs feature.
To do so, locate the history icon positioned at the top right corner of the template page, as shown in the image below, and click on it to view the change logs.
It shows the following details
- Who updated it
- Which version was updated
- At what date & time its updated.
Updated 7 days ago