Creating User Profiles
To create a user profile from Fyno, click the “Create+” button on the user profile listing page.
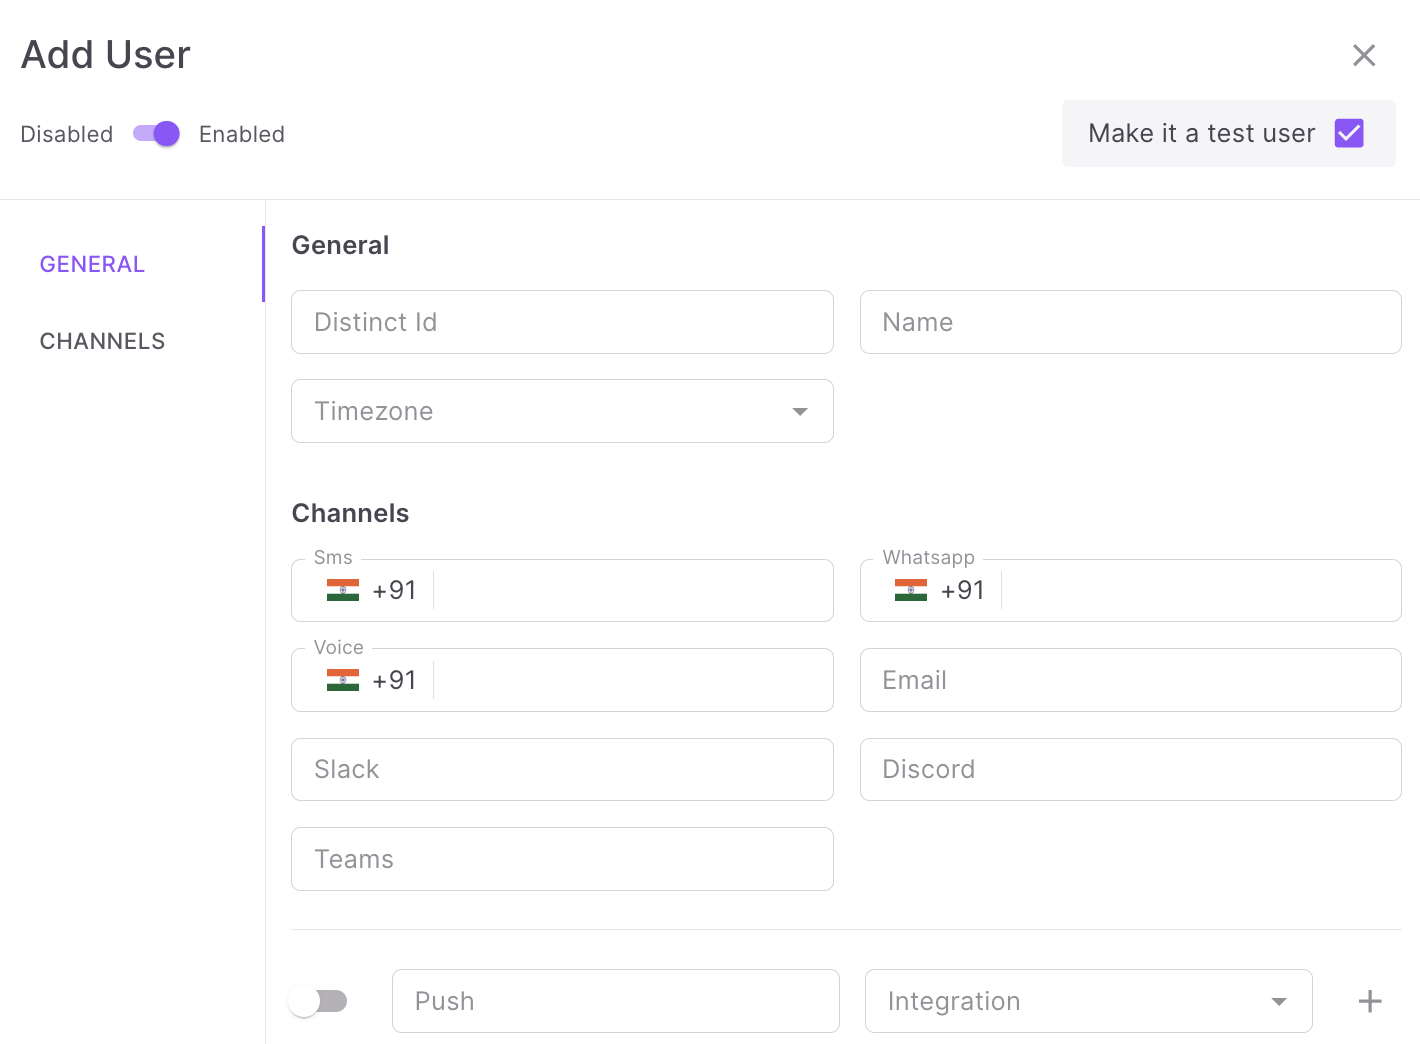
A pop-up will open up with a form to fill out as below:

Choose your Environment wisely!
When creating a new User Profile, the first thing you need to specify is if the user is a Test or Live user. You can create a user as 'test user' by checking the option - 'Make it a test user'
This cannot be changed later or at any point in the future.
The fields present in the form are:
| Fields | Required? | Unique? | Multiple Entries? | Type |
|---|---|---|---|---|
| Distinct ID | Yes | Yes | No | String |
| Name | No | No | No | String |
| Timezone | No | No | No | String |
| SMS | No | No | No | String |
| No | No | No | String | |
| Voice | No | No | No | String |
| No | No | No | String | |
| Teams | No | No | No | String |
| Slack | No | No | No | String |
| Discord | No | No | No | String |
| InApp | No | No | Yes | Array of Objects |
| Push | No | No | Yes | Array of Objects |
| WebPush | No | No | No | Array of Objects |
| Status | Yes | Yes | No | Boolean |
Distinct ID is the only required field.
Fill out the form with all the required information and press the "Add User" button to submit the form.
A single user profile will be added after successful submission.
Things to Remember
- The Distinct ID must be unique, and a duplicate Distinct ID entry will give you an error.
- The minimum required length for a Name is 3.
- All the other details are optional and can be added later by updating the user profile.
- Status disabled means that that user will be rendered Disabled and wouldn't receive ANY notification.
Updated 7 months ago
What’s Next
