Twilio Voice
Before we get started, you will need to have a Twilio account already set up, along with a Messaging Service SID.
-
Navigate to Integrations.
-
Under "Voice" section, click on the "Twilio" button.
-
In the pop-up, fill in:
-
Custom name: Provide a name to help you identify the configured account in Fyno's portal.
-
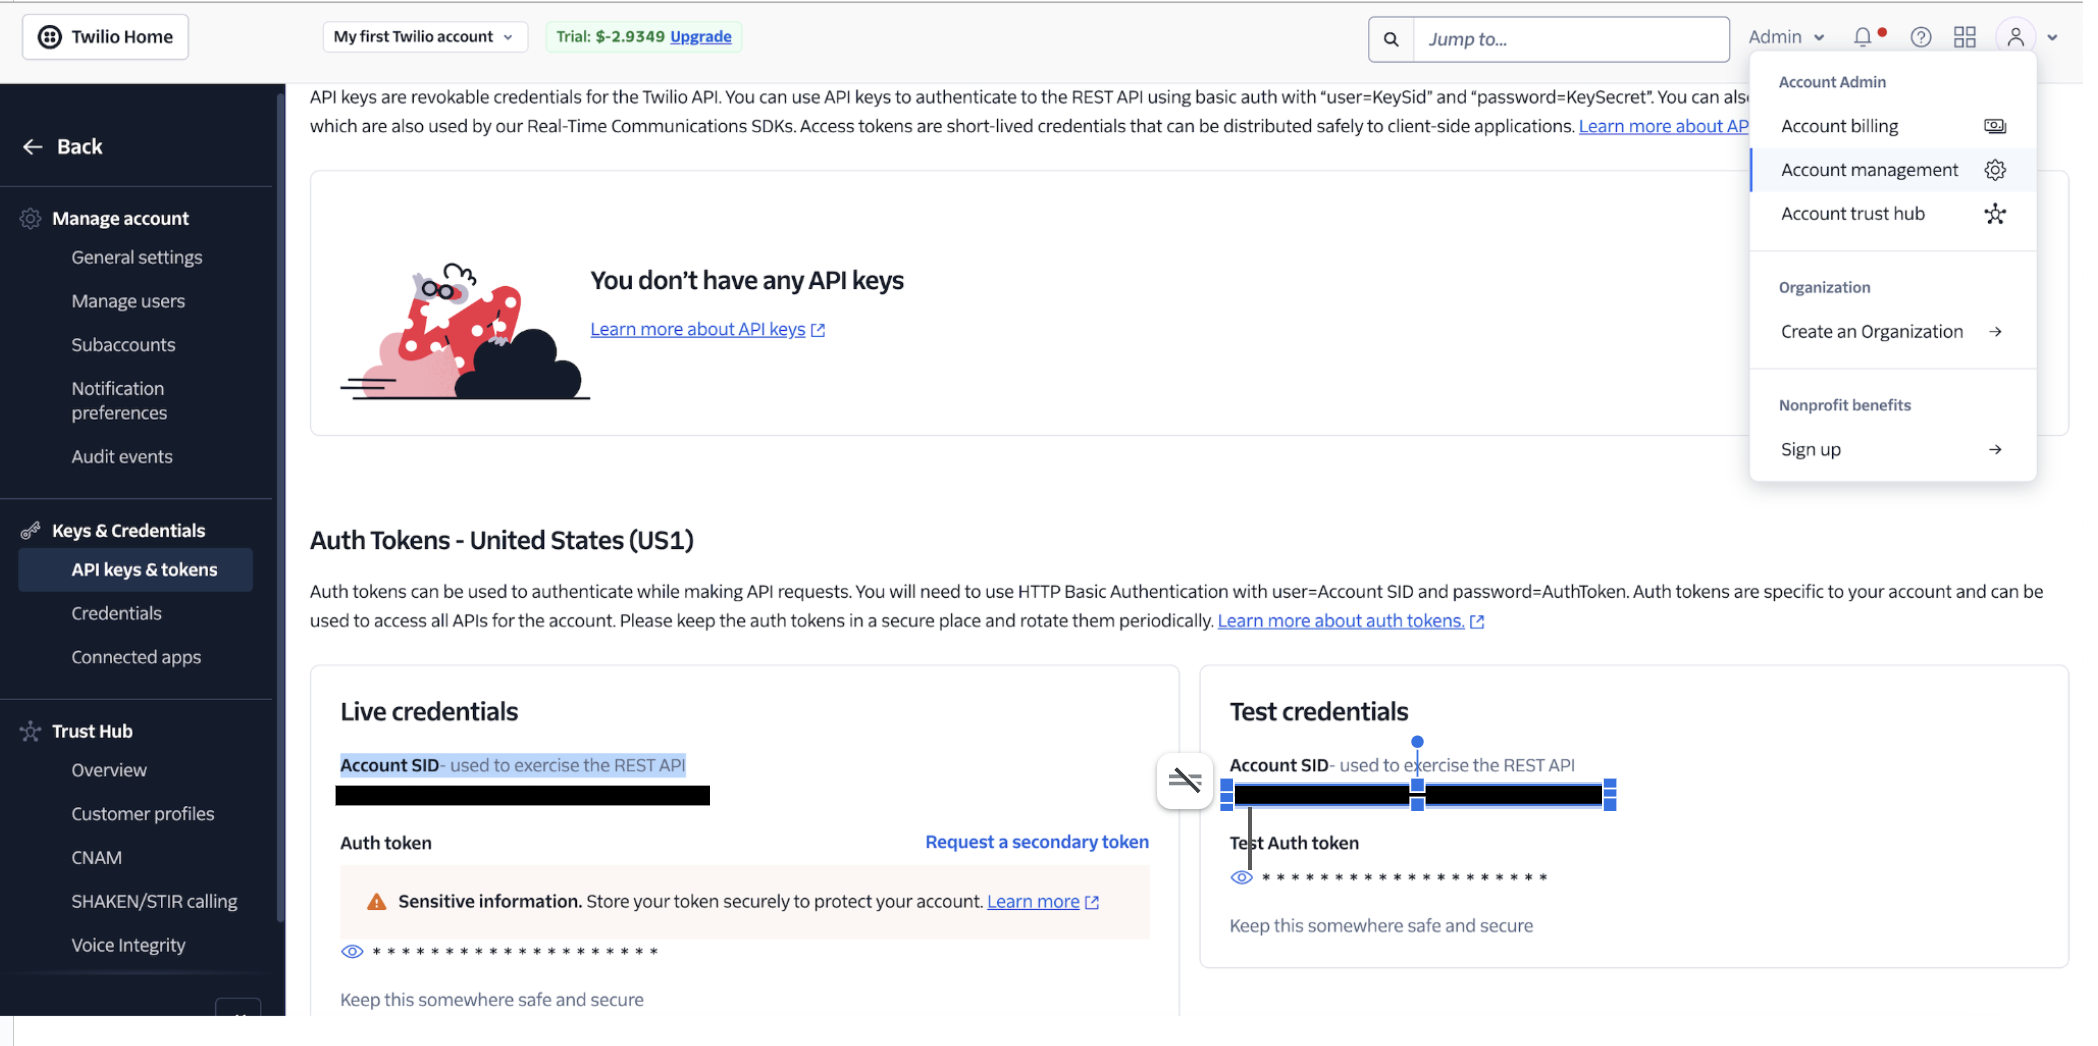
Account SID: In your Twilio account, Under the Account tab on the top right corner, find API Keys and Tokens under Account Management. Use the eye icon to display the Account SID. Make sure to use the live credentials.
-
Auth Type: You can choose either Auth Token or API Key and API Secret as your Auth type.
-
Auth Token: In your Twilio account, Under the Account tab on the top right corner, find API Keys and Tokens under Account Management tab. Use the eye icon to display the Auth token. Make sure to use the live credentials.
-
API Key and API Secret: You can create a new API key or use an exisiting API Key. You can do it from Account Management -> Keys & Credentials -> API Keys & Tokens
-
Messaging Service SID: In your Twilio account, Under the Develop -> Messaging -> Services. Either create a new Messaging Service or use an existing one.
-
Phone Number: You can access the phone number from Develop -> Phone numbers -> Manage -> Active numbers
-
-
Click on "Test Integration" once done. If the account is successfully connected, you will see a success message.
Message Delivery Status
Twilio, by default, provides the status of the message without any additional setup needed.
Once the above integration is complete, the status of the notification, which will be shared by Twilio will be displayed in the logs, when you click on it, under the Delivery tab.
Updated 5 months ago