Creating a workflow with Mixpanel Cohort
Navigate to the Workflow section from the left navigation panel.
On the landing page of Workflow, you will see the Value proposition of Workflows. You can create a new workflow by clicking 'Create New Workflow'.
If you have already created few workflows, you can see the list of all the Workflows you have created in card view. You can click 'Create+' to create a new workflow.
Once you click 'Create+', a workflow canvas opens.
Prerequisites
- Ensure relevant notification events which will be configured as part of Workflow is created.
- Ensure at least 1 allowlist API is configured if you want to receive delivery reports.
How to configure a Trigger using Mixpanel cohort
-
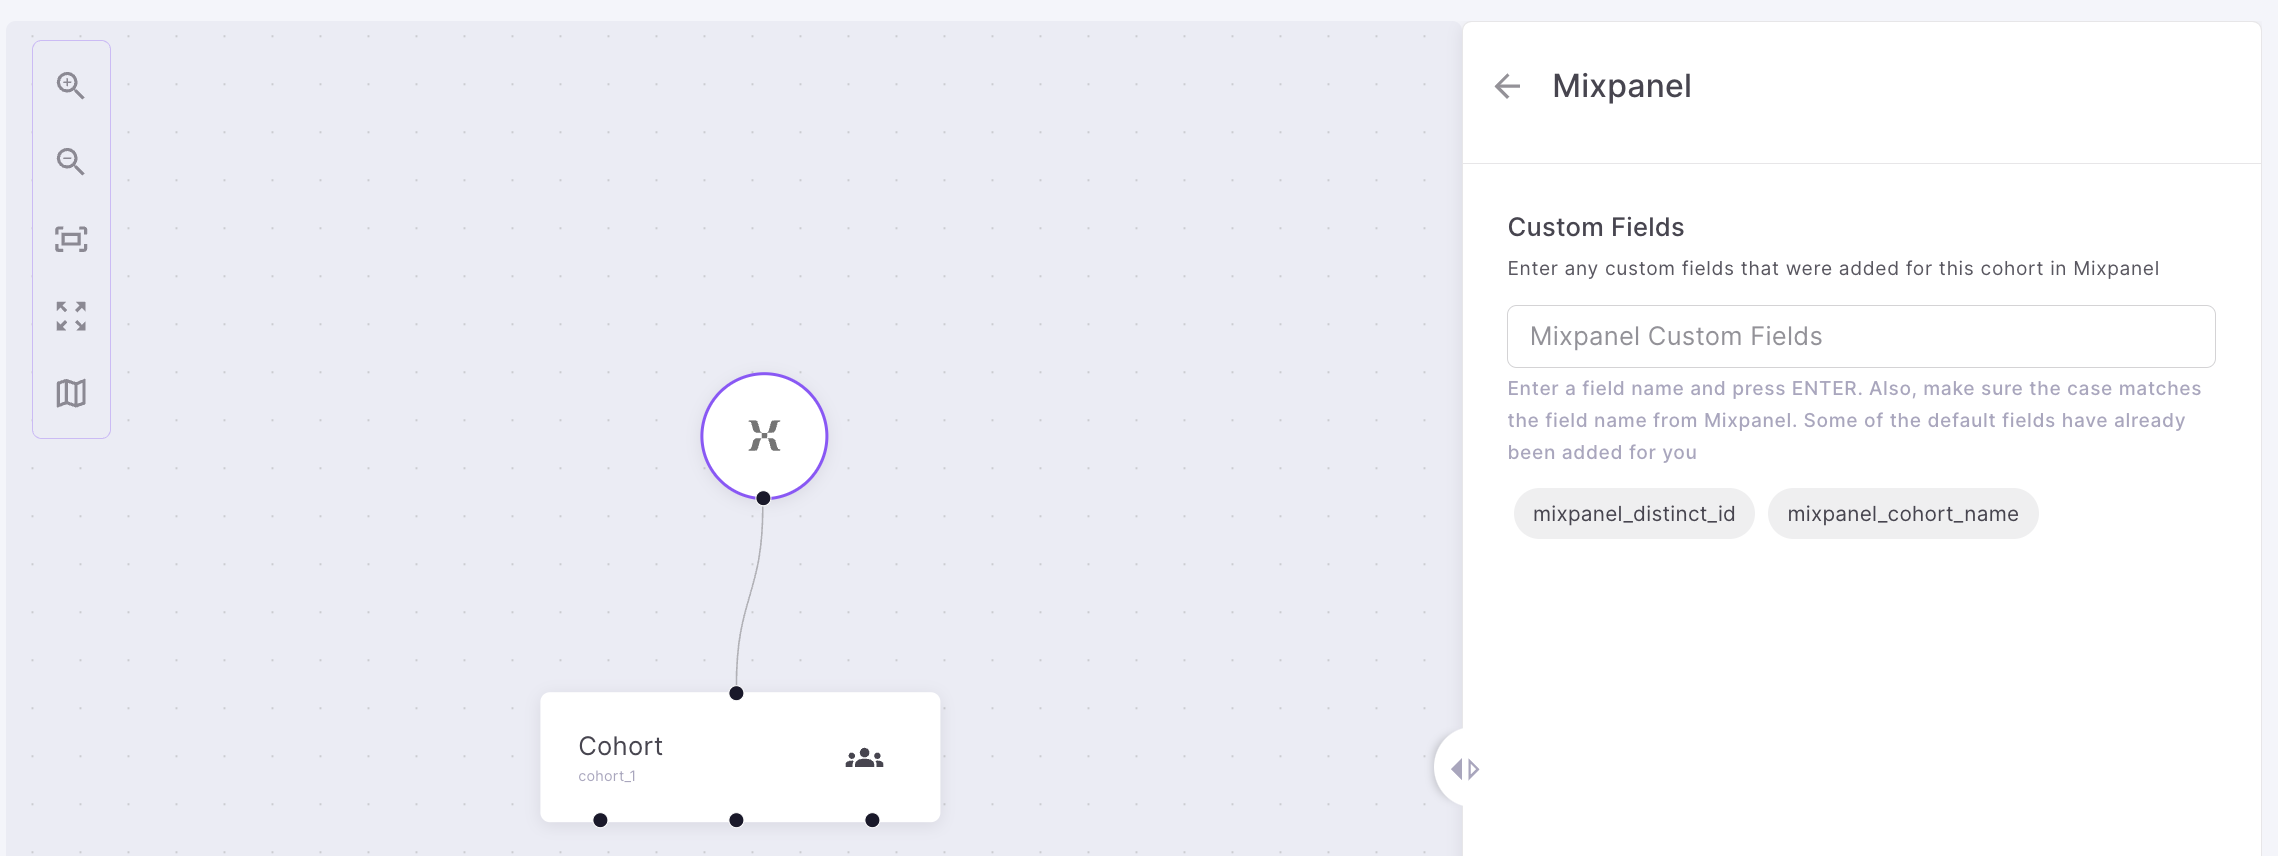
Drag and drop 'Mixpanel' under Triggers into the Workflow canvas.
-
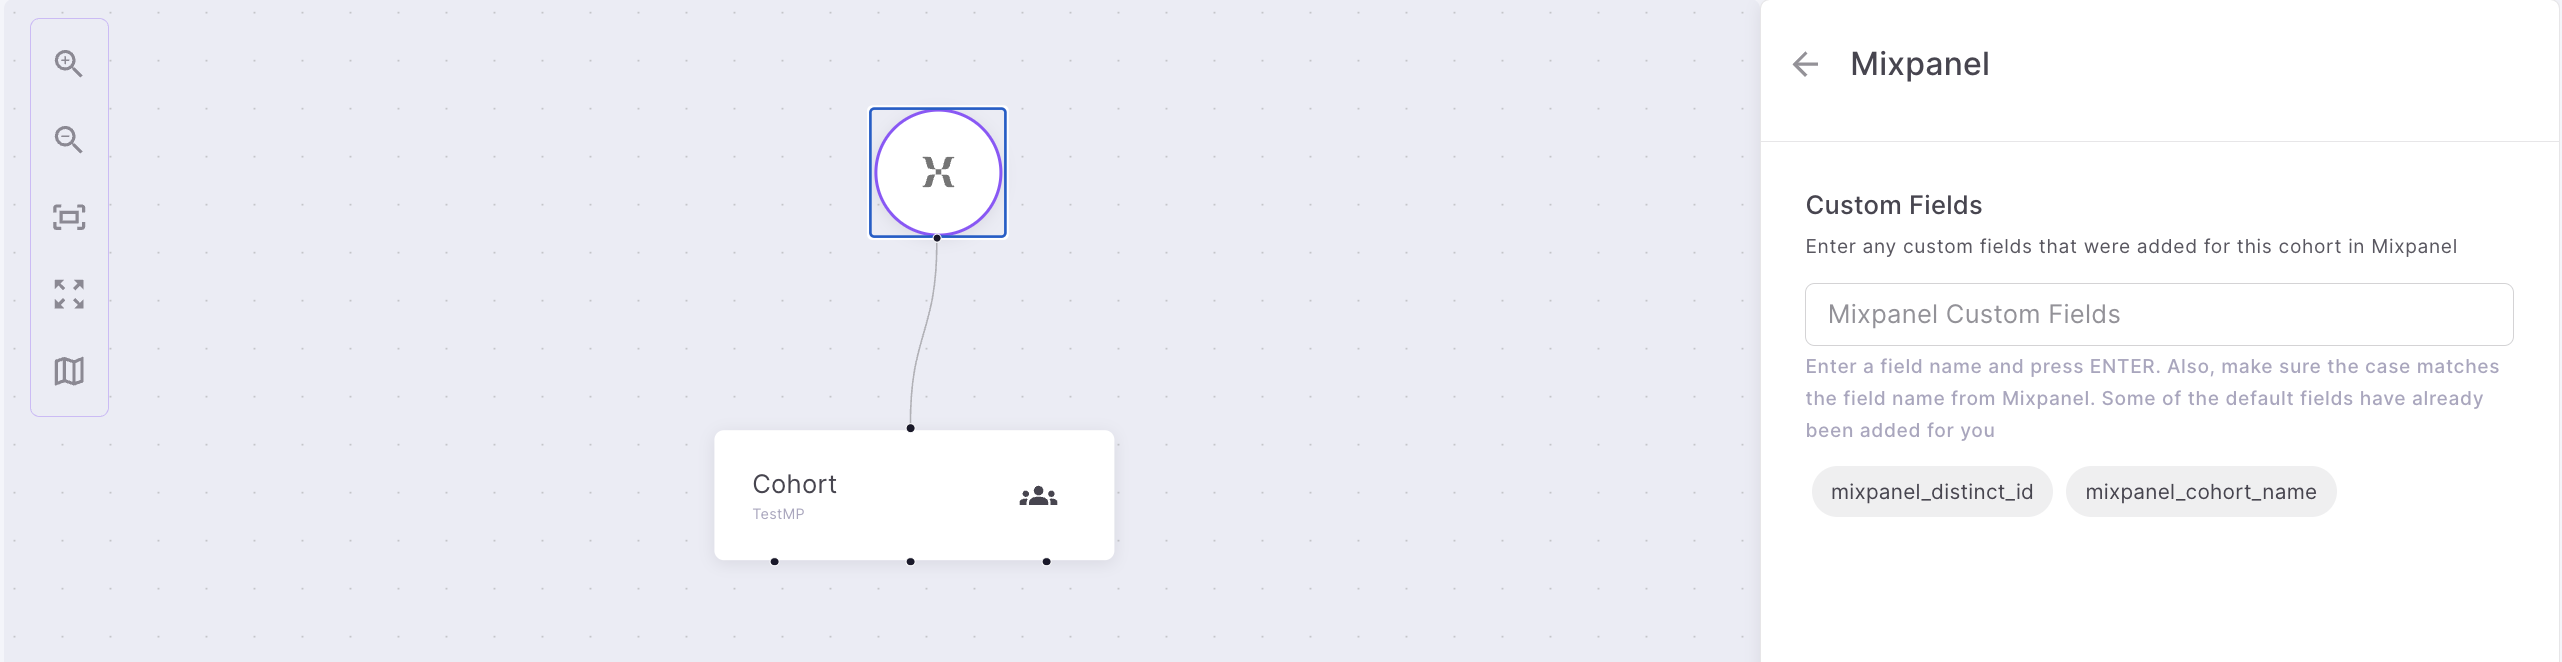
Custom Fields - This is Optional. By default, mixpanel_distinct_id and mixpanel_cohort_name will be sent for every Mixpanel cohort. If your cohort has additional fields, add it here.
-
Cohort Name - Enter a cohort name. Make sure the name matches with the Cohort created in Mixpanel
- Every Mixpanel cohort can be associated with one of the 3 actions.
- First Run - Includes all the users during the initial cohort sync. Use this option if you want to do One Time Sync.
- Member added - Includes users who joined the cohort since the last sync
- Member removed - Includes users who left the cohort since the last sync.
Action
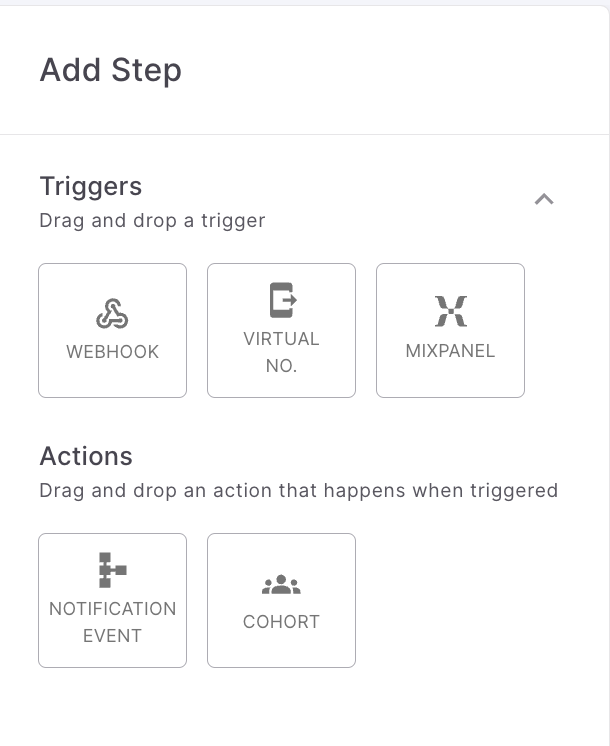
There are 2 possible actions you can add.
- Notification Event
- Cohort
1. Notification Event
Notification Event refers to the notification events created within Fyno's application and can be called in response to an action inMixpanel
On drag and drop of the Notification Event, you will see the
-
Notification Event: Select a relevant Notification Event from the dropdown, specific to this Mixpanel action.
-
Map Data : On selecting the notification event, you will see the Notification Event Mapping details. Basically, for the notification event that you have selected, you will need to specify which fields from the Mixpanel cohort correspond to the destination, data, callback etc.
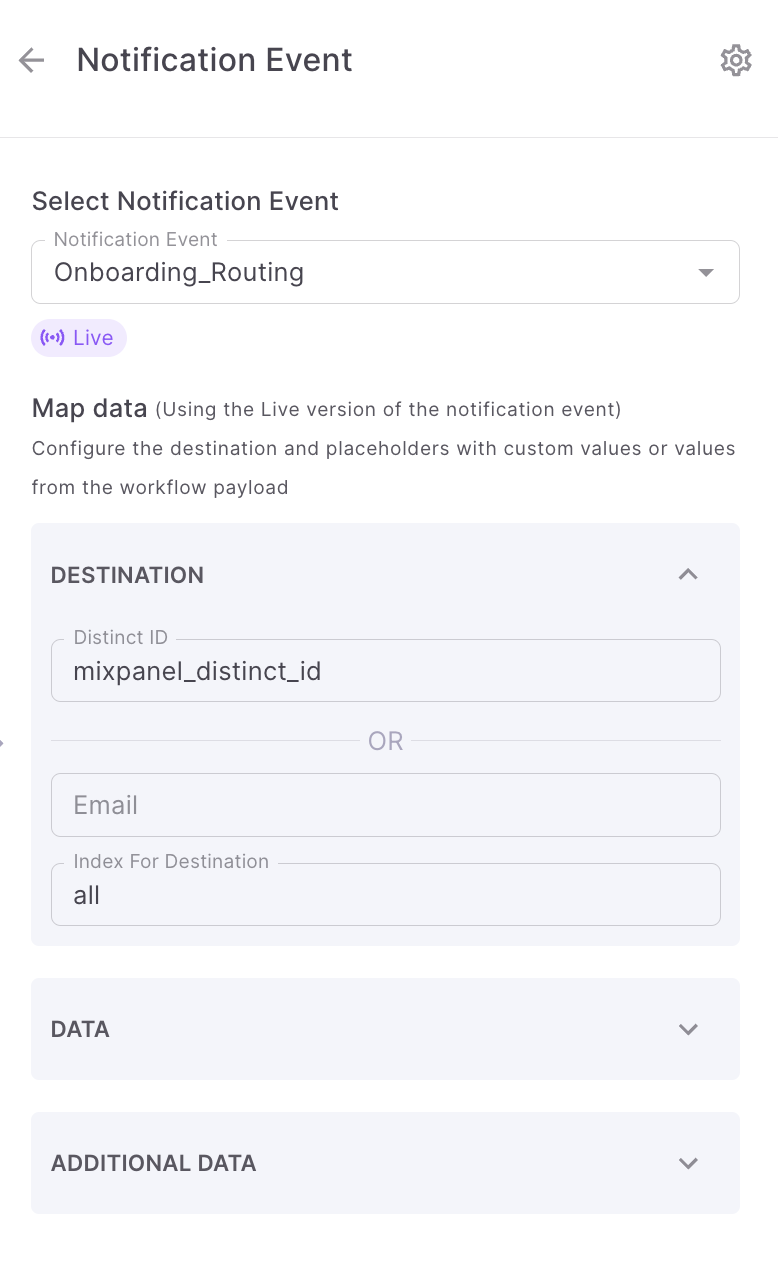
- Distinct Id: If you are using Fyno's user profile, then select value for Distinct Id from the payload or a custom variable created using the Simplify option.
- Channels : All the channels configured as part of the template linked to the Notification Event selected will appear here. If you are not using Fyno's user profile, map the channel level destinations with a field from the Mixpanel cohort . In this example, the template linked to the notification event 'Onboarding_Routing' has only Email as the channel. That's why you see Email under Map data. Under Index for Destination, choose 'all' or you can add any specific index like 0,1 etc.
-
Data: In this section, you will see all the fields that you have specified as Placeholders (variable parameters/dynamic values) in the Template that is associated with the Notification Event that was selected. In case you do not see this field, this means that there are no Placeholders in the Template.
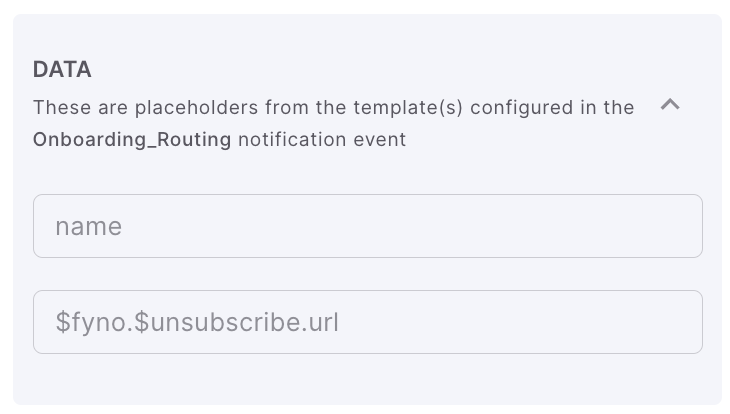
-
Additional Data: Additional data in the form of a payload can be specified here if required, in JSON format. This is an optional field. A typical use case for additional data is when you do not manually add placeholders during template creation. For instance, if your template contains the text
Hi {{name}}but you do not explicitly specifynameas a placeholder during template creation. Nevertheless, Fyno still identifies the name as a placeholder since it appears in the {{ }} syntax. In this scenario, you can include the value of the name in the Additional Data'section. To do this, specify the name as the key and select a corresponding value from the dropdown.
2. Cohorts
You can add multiple cohorts to the Mixpanel trigger as shown below. This helps you to add as many cohorts to a single Workflow and execute all your use cases.
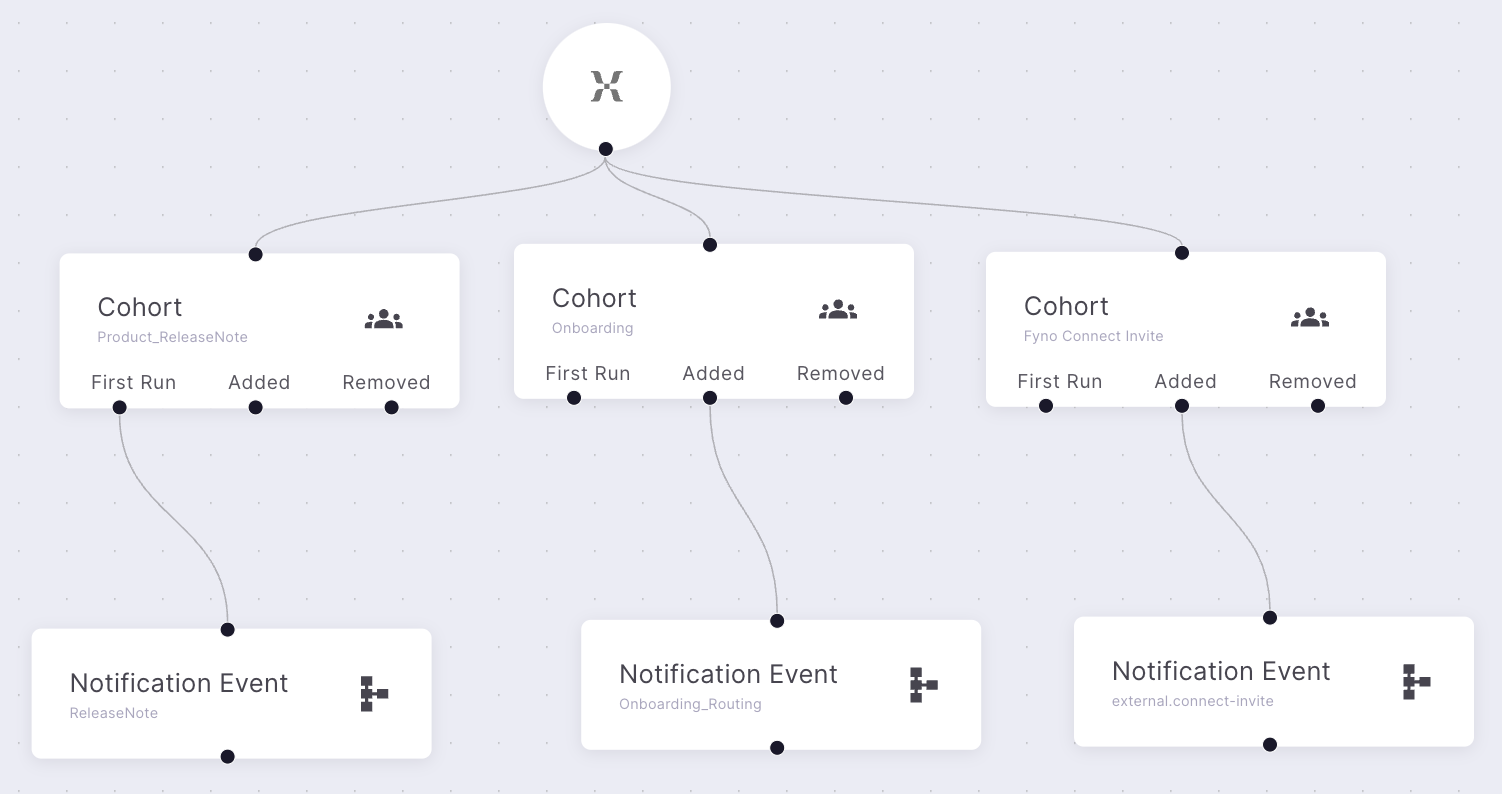
Cohorts can only be associated with Trigger nodes. It is not possible to add cohorts to Notification Event nodes.
How to receive delivery reports
Fyno allows you to forward delivery reports to your own system or integrate them with third-party analytics tools like Mixpanel and Amplitude. This feature enables you to track and analyze the success of your notification deliveries seamlessly.
You can read more about it here
How to configure Idempotent Key
Workflows now supports idempotency, ensuring you can safely retry requests without the risk of performing the same operation twice. This feature proves invaluable in scenarios where an API call gets interrupted in transit, leaving you without a response.
You can read more about it here
How to configure overrides
Fyno allows you to override pre-configured values within an Integration, enabling you to use different values for specific notifications in a Workflow. This flexibility is useful when you need to customize the sender information or other details based on the requirements of each notification.
You can read more about it here
Workflow URL
Once you saved or saved and promoted your workflow, you need to copy the Workflow URL. We provide URLs for both Test and Live. Please copy both the URLs and configure it in your system or any third party tool where the webhook will be triggered.
To get workflow URL, click workflow URL icon next to 'Live' button in the top navigation.
You will see the below popup. The URL is auto-generated when you create the workflow. You will need to use this URL to invoke this Workflow.
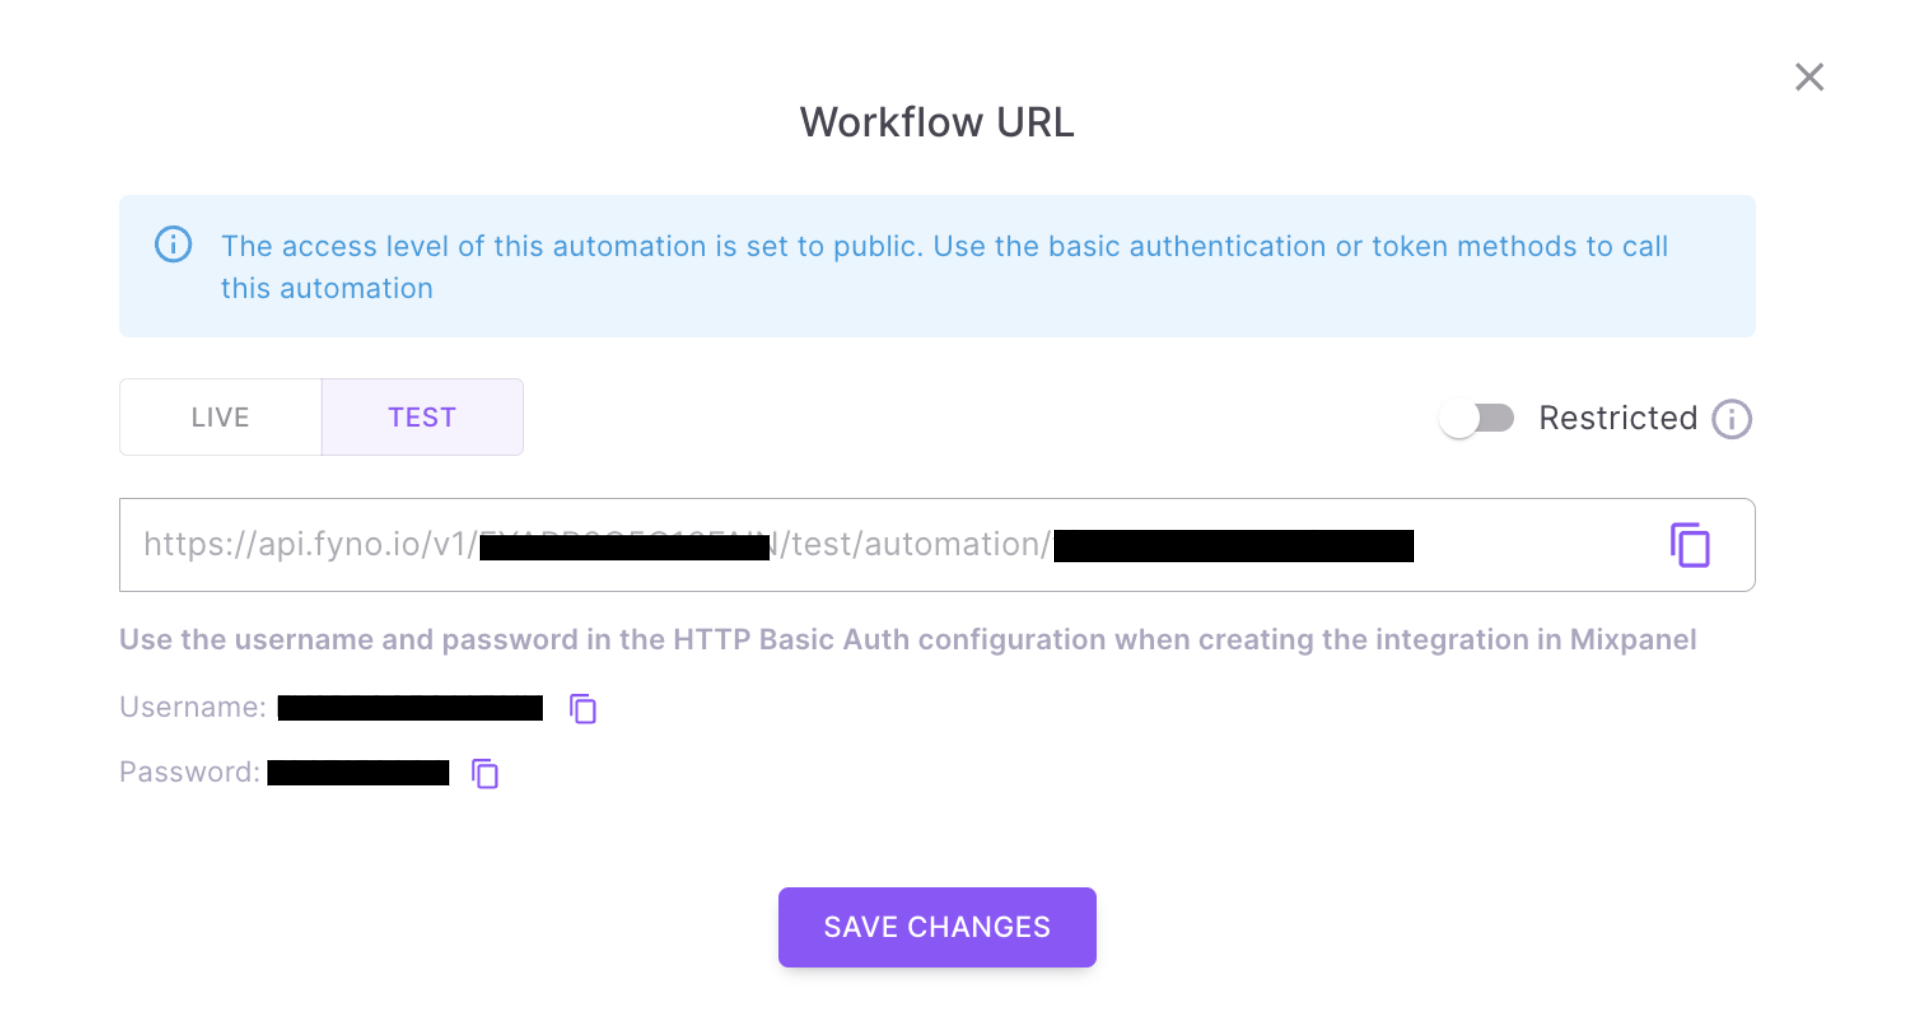
Public:
If you are using Public URL, you will see the URL as shown below. You also need to configure the Username & Password while configuring webhook in Mixpanel.
Workflows are public by default. If you enable the "Restricted" option after the workflow is created and save it with this setting, you must use "Restricted" URLs (Live & Test) when funning the workflow.
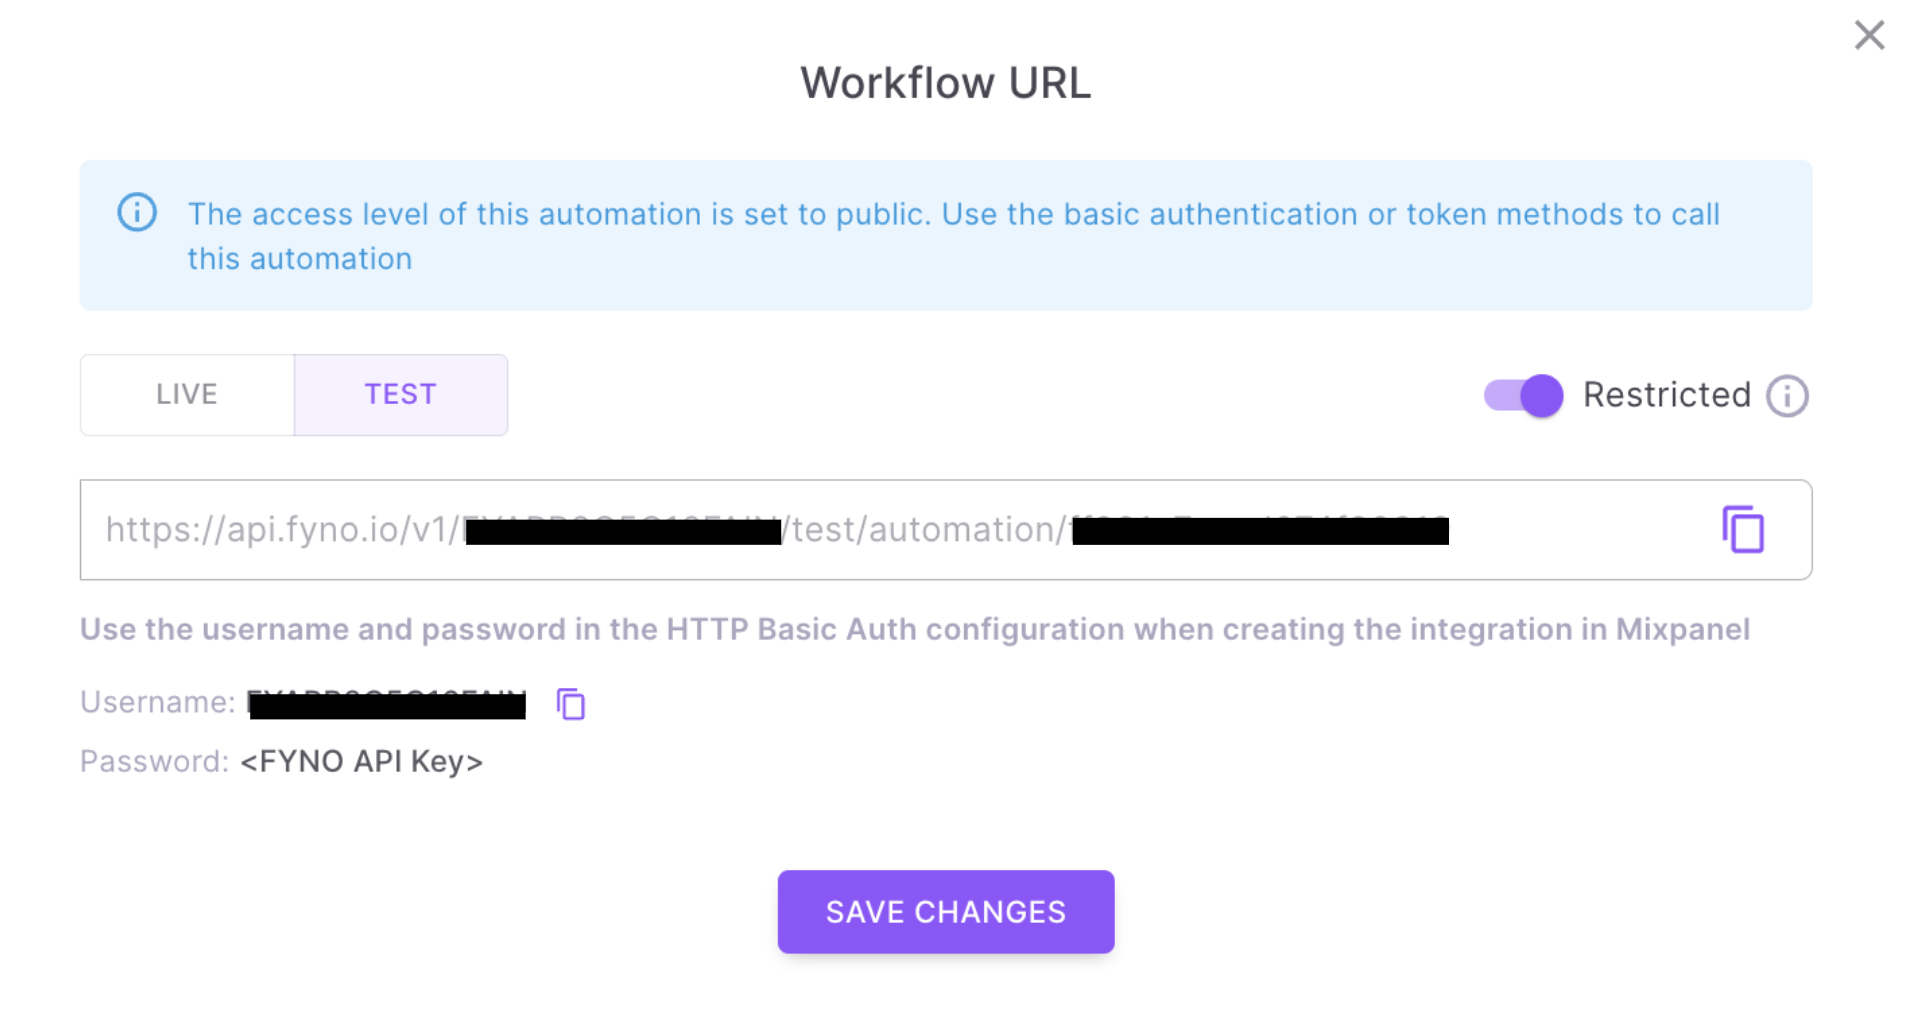
Restricted:
If you want to use Restricted access, enable the Restricted Toggle as shown below. You also need to configure the Username & Password while configuring webhook in Mixpanel.
You can update the token using the "Customize Token" option in the Workflow details page header.
Since you can invoke the workflow URL from anywhere, it is a good idea to update the token if you feel it has been compromised. You must always remember to update the workflow URL (with the new token) at the source from where the workflow is called.
How to configure Workflow URL in Mixpanel
To send data from Mixpanel to Fyno's Workflow, you need to configure Workflow URL in Mixpanel. To do so, follow the below steps.
-
In Mixpanel's top navigation, click Data Management icon and go to Integrations
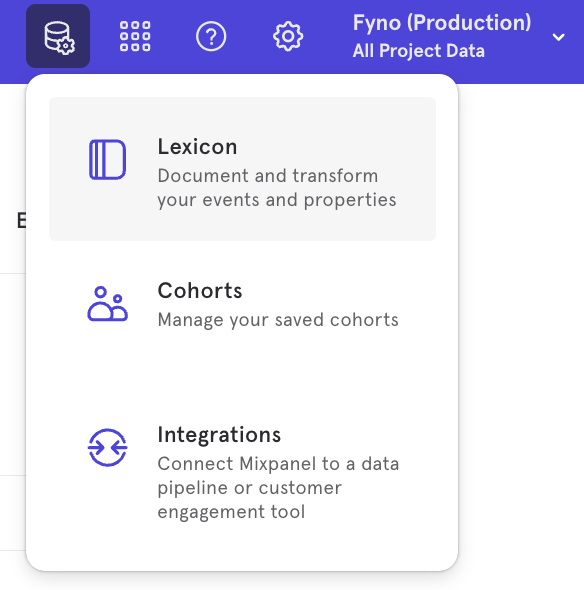
-
In the integrations, select Custom webhook and click Add connection. You will see a popup as shown
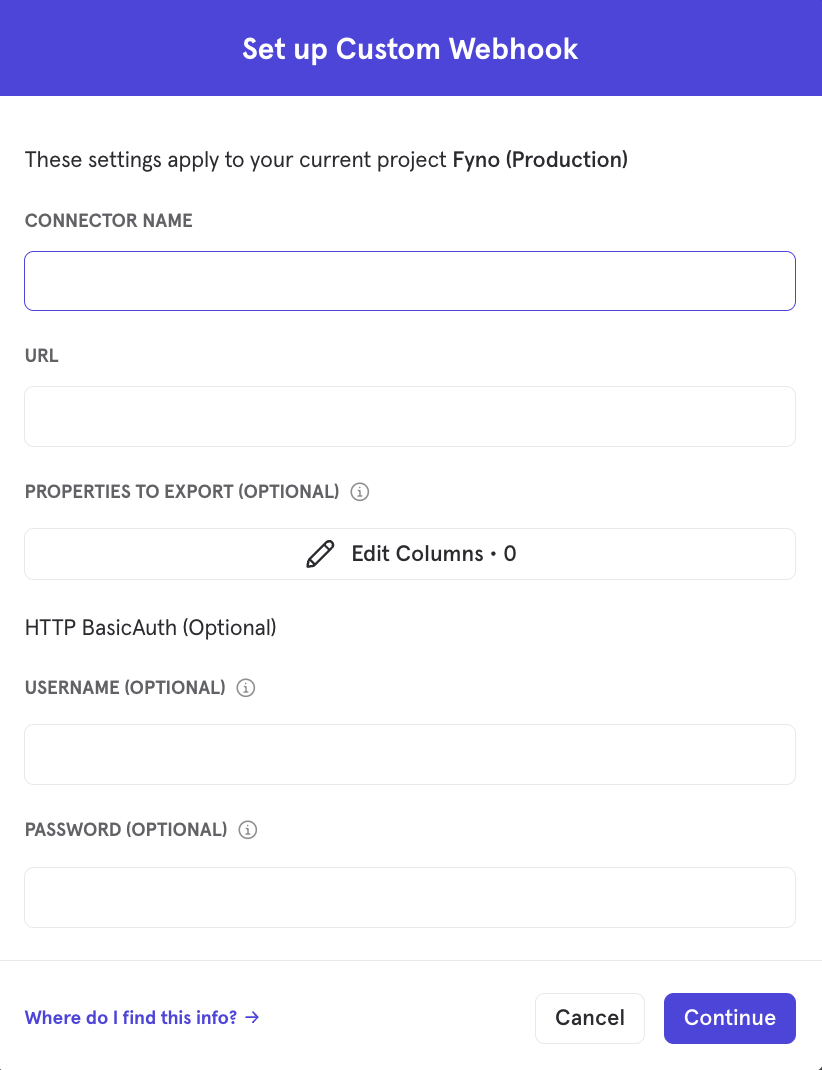
-
Provide the following details
- Connector Name - Unique name to identify the webhook to send data to Fyno.
- URL - Enter the Workflow URL you got in the previous section here.
- Username - Provide the username from Workflow URL popup
- Password - Provide the password from Workflow URL popup
Updated about 2 months ago